

The Step-by-Step Process of a PPF Installation
Paint protection film (PPF) is a must-have for car lovers. It shields your vehicle from scratches, chips, and environmental damage.
Installing PPF can seem daunting, but it doesn't have to be. With the right guidance, you can achieve professional results at home.
This step-by-step PPF installation guide will walk you through the entire process. You'll learn how to prepare your vehicle, apply the film, and ensure a flawless finish.
Whether you're a DIY enthusiast or a professional detailer, these PPF installation tips will help you protect your car's paint.
Get ready to enhance your vehicle's appearance and resale value with this comprehensive guide.
What Is Paint Protection Film (PPF) and Why Use It?
Paint Protection Film (PPF) is a transparent layer applied to a car's surface. It acts like a shield, guarding against scratches and chips.
PPF is often made from durable, polyurethane material. This helps it withstand harsh weather conditions and road debris. LLumar PPF is a popular choice due to its durability and clarity.
Benefits of Using PPF:
- Protects against environmental damage
- Enhances vehicle appearance
- Increases resale value
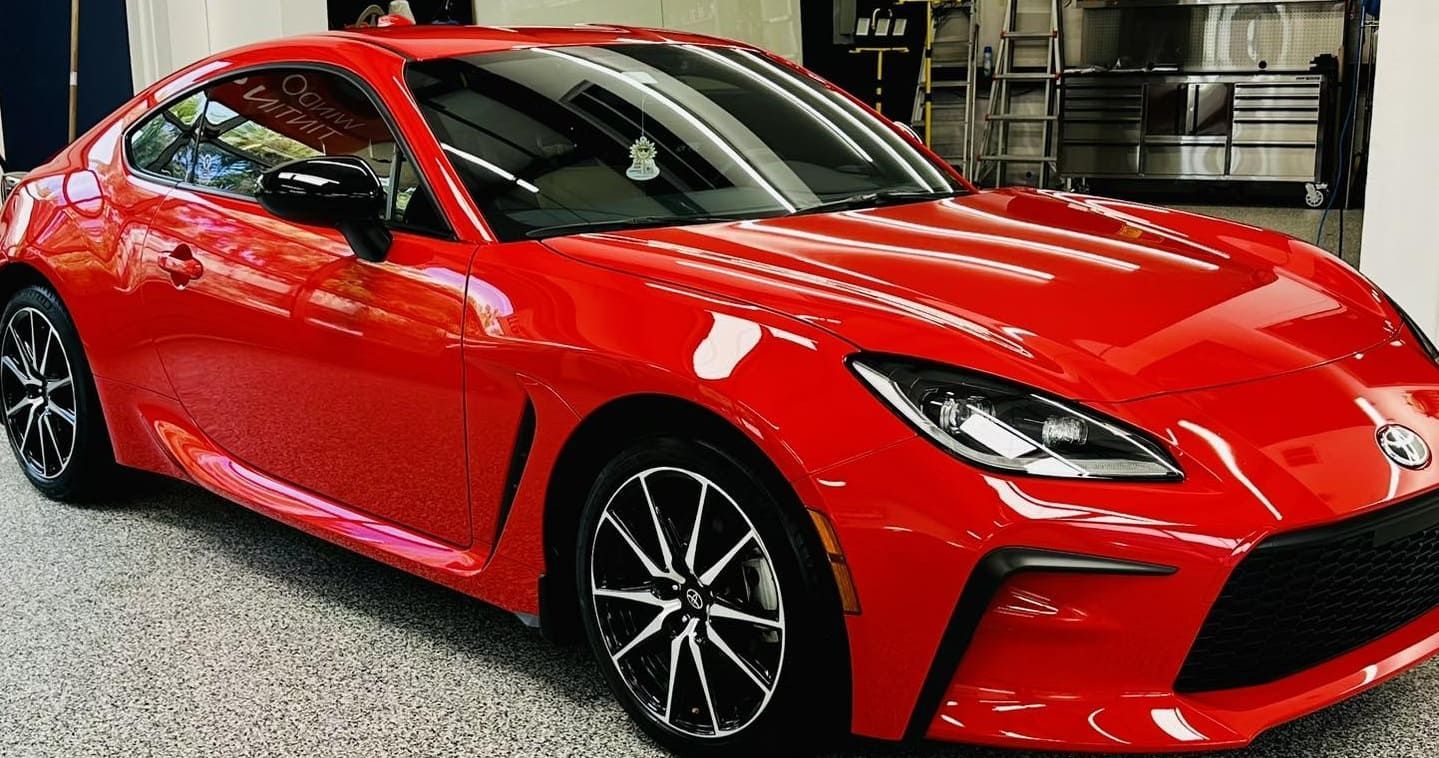
Not only does PPF safeguard your car, but it also enhances its appearance. The film provides a clear finish, preserving the paint's original luster.
PPF is ideal for high-impact areas like bumpers and hoods. It's especially beneficial for those who drive often or park outdoors frequently.
By choosing PPF, you invest in long-term protection, reducing the need for frequent paint touch-ups.
Essential Tools and Materials for PPF Installation
Preparing for a PPF installation requires gathering the right tools and materials. Having everything ready ensures a smooth application process.
Necessary Tools:
- Squeegee
- Sharp blade for trimming
- Spray bottles for solutions
- Heat gun
A squeegee is essential to remove air bubbles effectively. Sharp blades help achieve clean edges after trimming.
You will also need two types of solutions: slip and tack. The slip solution allows the film to glide over the surface, and the tack solution helps it adhere. Spray bottles make it easier to apply these solutions.
Don't forget the heat gun. It's used for molding the film around curves and edges. Properly using these tools and materials will help achieve a flawless and professional finish. Preparing ahead saves time and prevents common mistakes.
Preparing Your Vehicle for PPF Installation
Before installing paint protection film, prepare your vehicle properly. This step is crucial for a successful installation.
Begin by washing the car thoroughly. Remove all dirt, grease, and wax to ensure the surface is perfectly clean. Even small particles can cause imperfections under the film.
Next, use a clay bar to eliminate any embedded contaminants. This step enhances the smoothness of the paint surface, making the film adhere better. Pay special attention to high-impact areas, where PPF is most commonly applied.
Preparation Checklist:
- Thorough car wash
- Clay bar treatment
- Clean work area
Finally, ensure your work environment is dust-free. This prevents debris from getting trapped under the film during installation. A clean space facilitates a more efficient workflow. By preparing your vehicle carefully, you lay the groundwork for a flawless PPF application.
Measuring and Cutting the PPF
Accurate measurements are key to a seamless paint protection film installation. Start by identifying the specific areas you want to protect.
Use measuring tape to get precise dimensions of these sections. Write down the measurements so you have a clear reference while cutting the film.
Next, transfer these dimensions onto the PPF. Lay the film on a clean, flat surface and mark the measurements with a non-permanent marker. This will guide your cutting and ensure a perfect fit.
Tools for Measuring and Cutting:
- Measuring tape
- Non-permanent marker
- Sharp blade or scissors
With a sharp blade or scissors, carefully cut the film along the marked lines. Ensure your cuts are clean and straight to minimize any visible edges when applied. Taking your time with measuring and cutting will greatly enhance the final appearance of your PPF installation.
Mixing and Using Installation Solutions
Properly mixed solutions are vital for an effective PPF installation. You'll need two different solutions: a slip solution and a tack solution.
The slip solution aids in positioning the film. Mix water and a few drops of soap in a spray bottle. This allows the film to glide over the vehicle's surface without sticking immediately.
On the other hand, the tack solution makes the film adhere to the vehicle. Combine water with a small amount of alcohol in another bottle.
Solutions Needed:
- Slip Solution: Water + a few drops of soap
- Tack Solution: Water + a small amount of alcohol
Using these solutions will ensure the PPF adheres properly and allows adjustments as needed during installation.
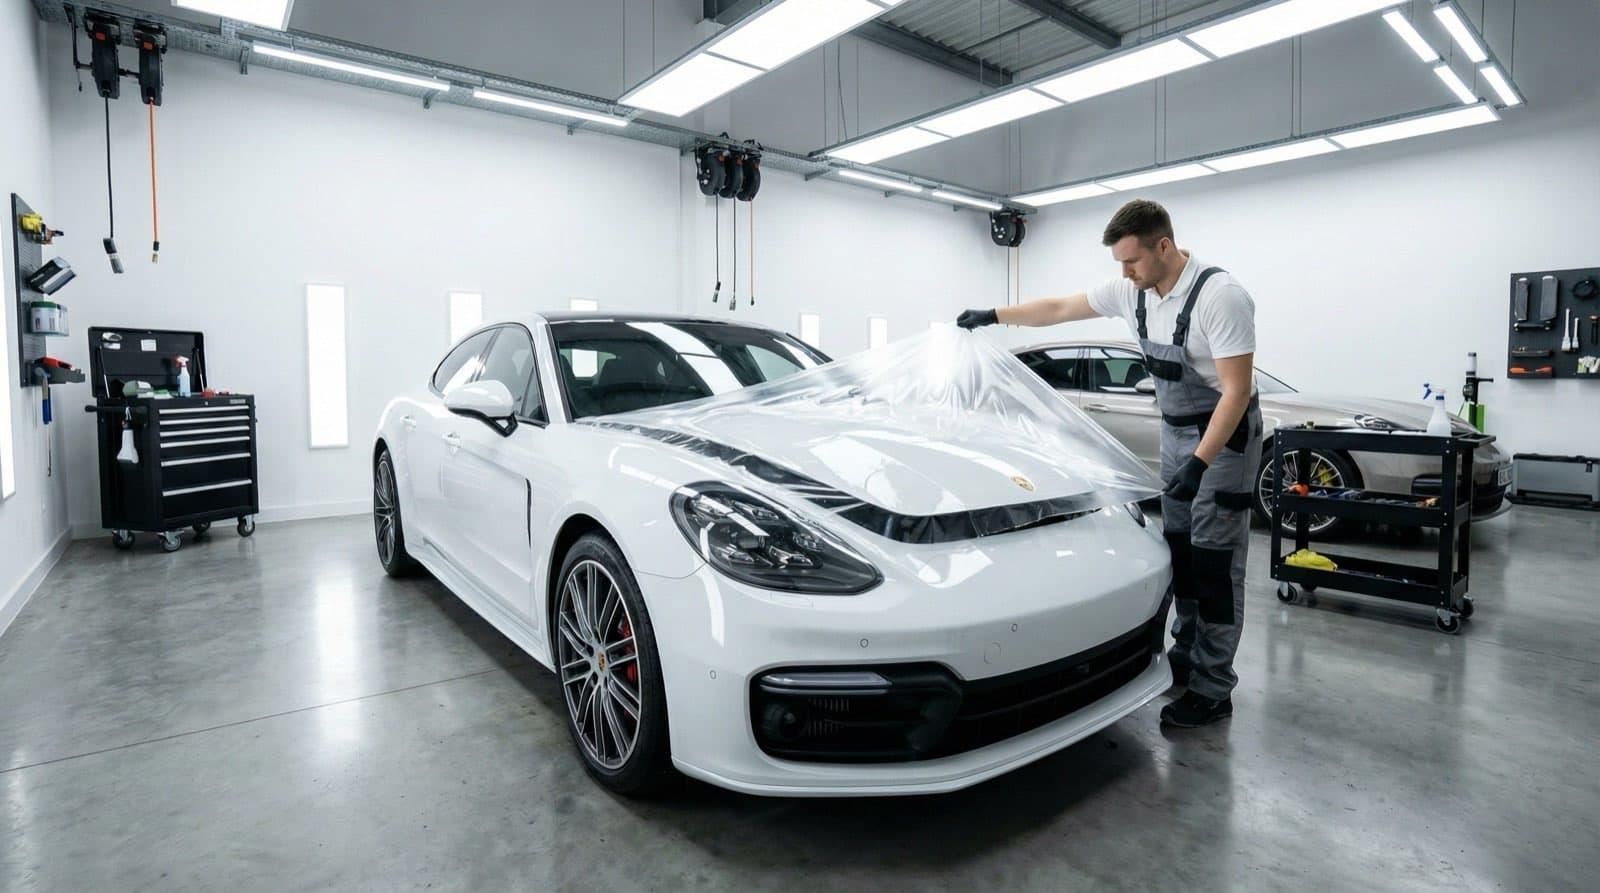
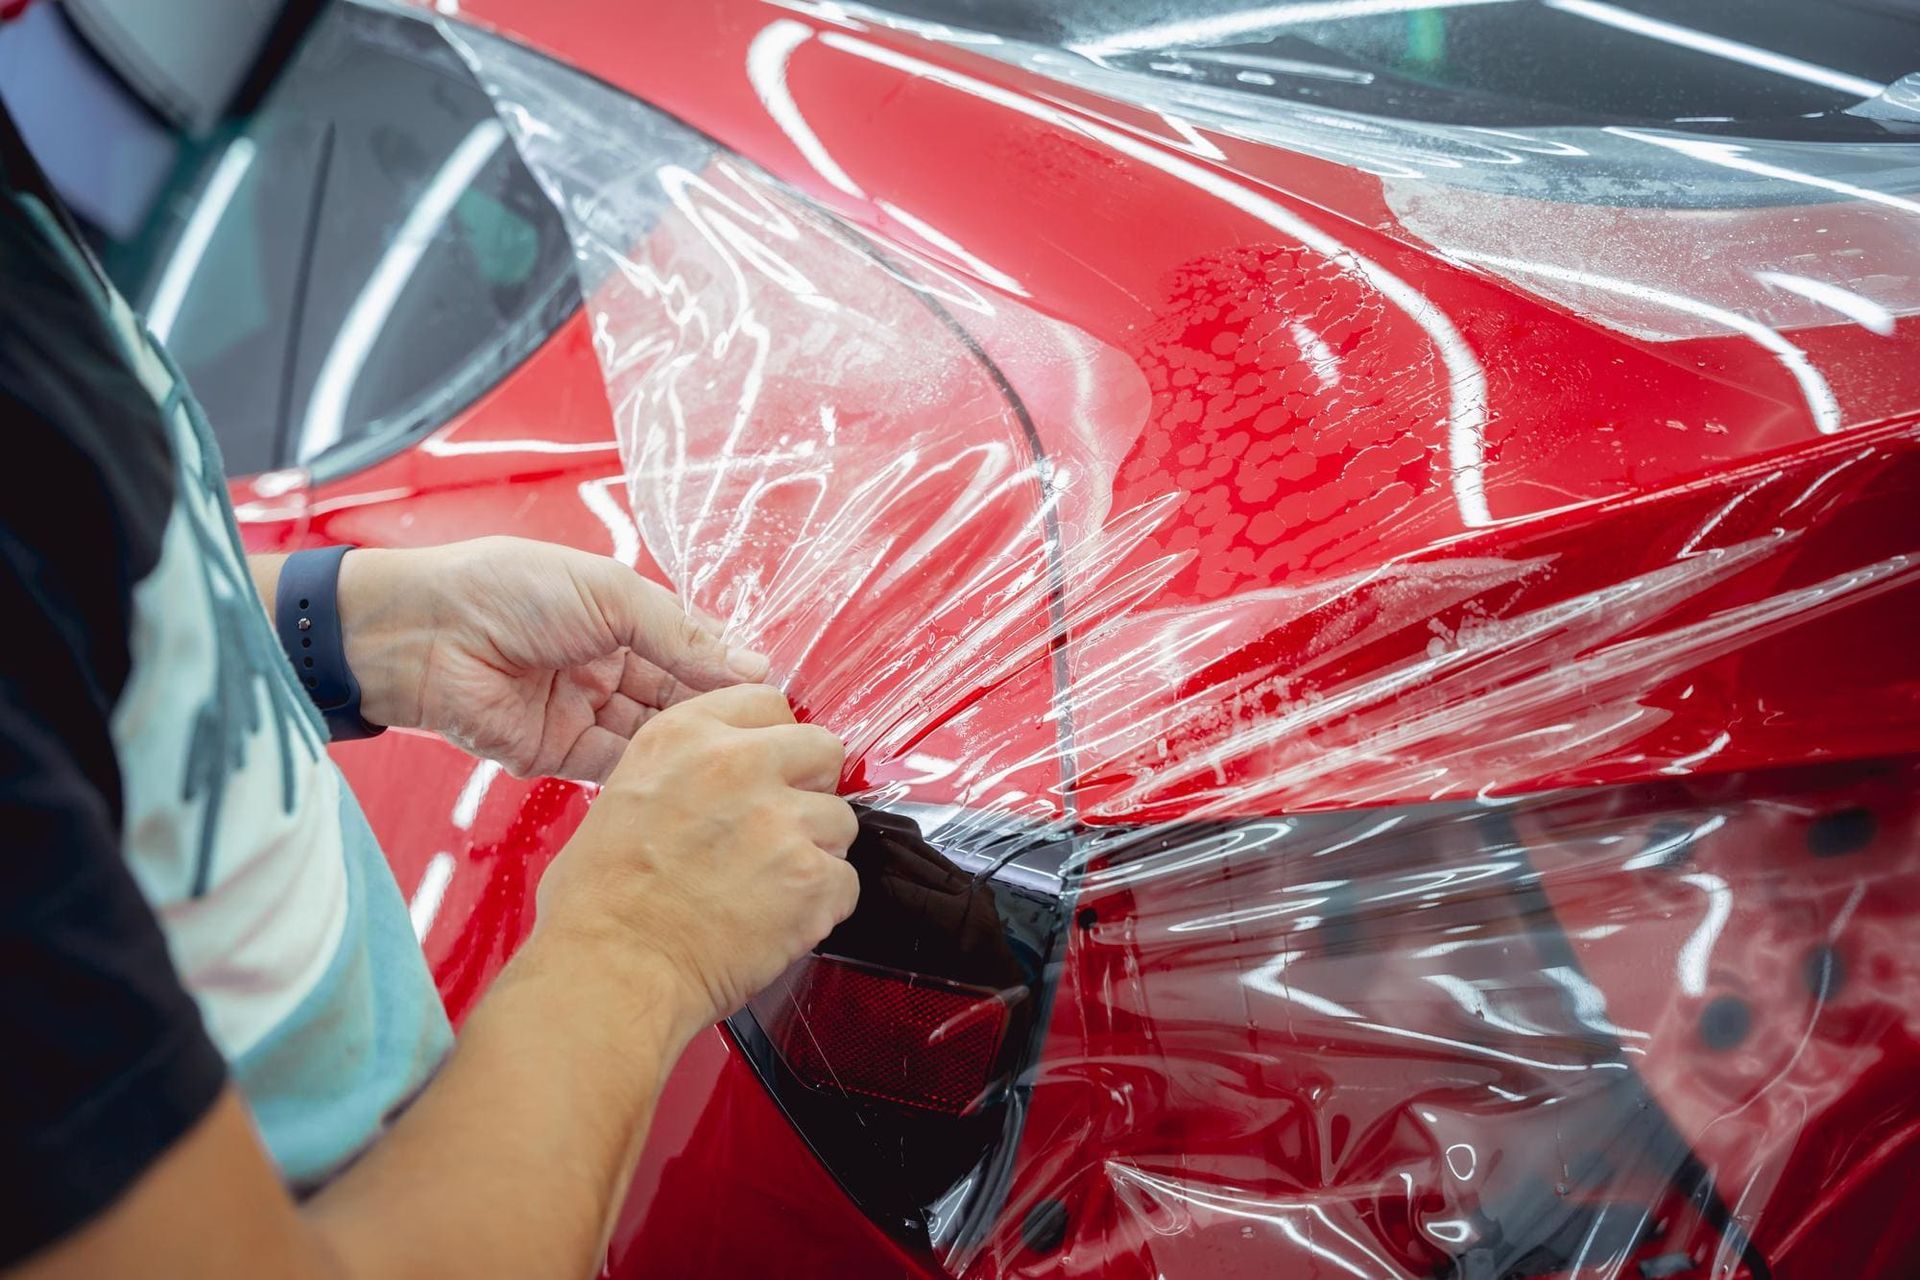
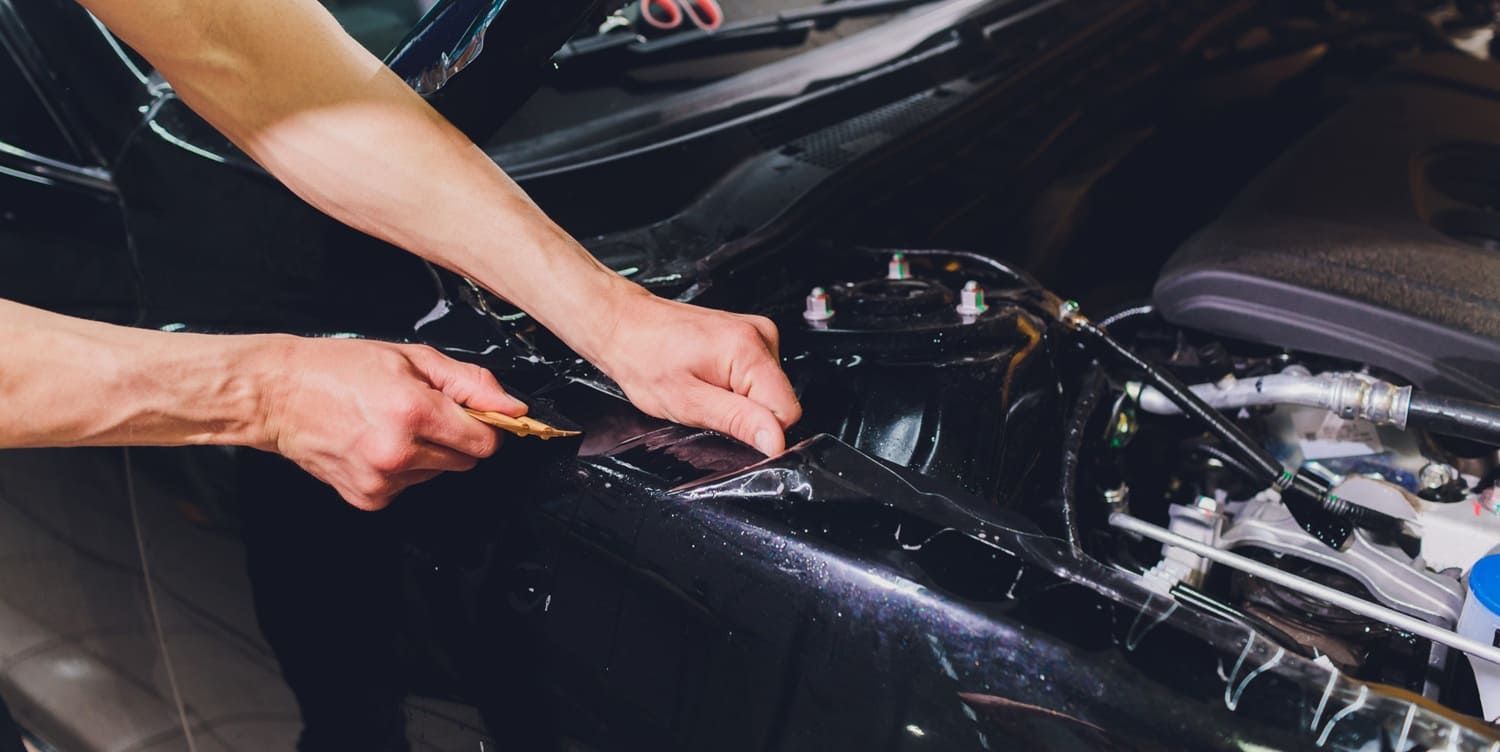
Applying the PPF: Step-by-Step Process
Applying PPF requires precision and patience. Start by ensuring your working area is clean and dust-free. This prevents any dirt from getting trapped beneath the film.
Position the pre-cut PPF sheet over the desired area of the vehicle. Using the slip solution, spray the area generously. This helps the film move smoothly.
Begin application by aligning the film in the center of the panel. Adjust until all edges are even. This helps prevent any misalignment.
Once aligned, use the squeegee to start pressing the film onto the surface. Begin from the center and move outward. This removes excess slip solution and any trapped air.
Continue applying pressure evenly. Pay attention to any areas where air bubbles form. Reapply slip solution as needed for adjustments.
For sections with curves or edges, use a heat gun sparingly. Gently warm the film, allowing it to stretch and adhere properly.
Key Steps:
- Clean the working area to avoid dust
- Spray slip solution generously on vehicle surface
- Align film starting from the center
- Use a squeegee to remove air and excess solution
- Apply heat to curves and edges with care
After applying the film, inspect for any remaining air bubbles. Use the squeegee to smooth out small imperfections. Take your time to ensure a seamless fit. This careful approach ensures a high-quality finish and effective protection for your vehicle's paint.
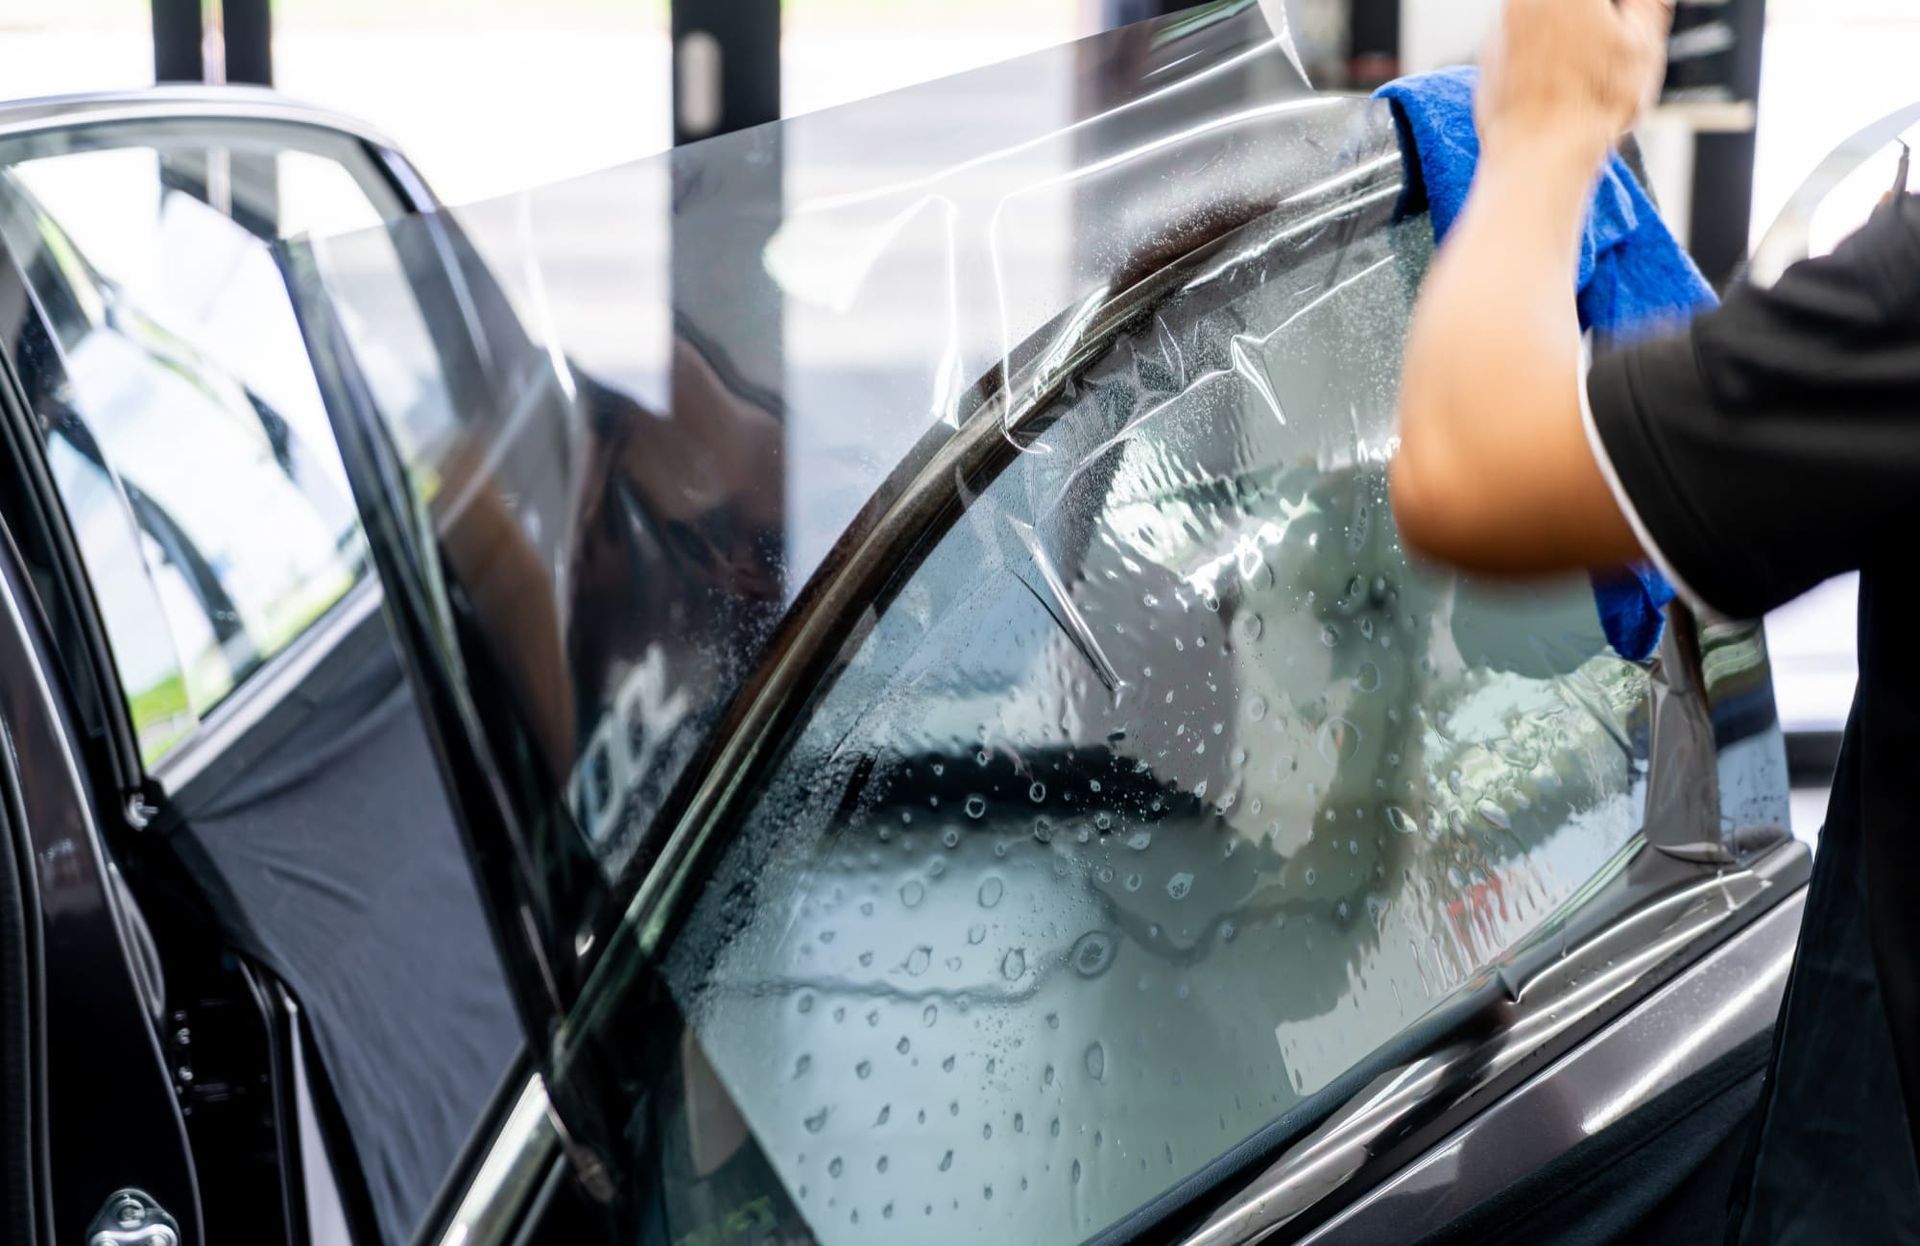
Tackling Curves, Edges, and Complex Areas
Installing PPF on curves and edges can be tricky. These areas require more attention and skill. Carefully approach each section to ensure optimal adhesion.
Use a heat gun to gently warm the film around curves. This increases its elasticity, allowing it to conform seamlessly. Be cautious not to overheat, as this could damage the film.
For complex areas, apply extra slip solution to ease movement. Use your fingers to guide the film, ensuring a snug fit. A squeegee can help remove any bubbles that form. Remember, patience and precision are key to tackling these challenging sections.
Quick Tips:
- Warm film with a heat gun gently
- Apply extra slip solution for mobility
- Use fingers and squeegees for a tight fit
Trimming, Wrapping, and Final Touches
Once the PPF is in place, trimming is essential for a clean look. Use a sharp blade to remove excess material. Work slowly to avoid cutting too close to the vehicle’s surface, which can cause damage.
Wrapping the film around edges ensures a seamless finish. It prevents peeling and adds durability. After wrapping, inspect all areas meticulously. Final touches, like smoothing out minor imperfections, can perfect the installation. Attention to detail in this stage enhances the protective and aesthetic value of the film.
Quick Tips:
- Trim carefully with a sharp blade
- Wrap edges for better adhesion
- Smooth out imperfections attentively
Curing, Inspection, and Troubleshooting
Once applied, allow the PPF to cure properly. A 24-hour curing period is recommended before exposing the vehicle to water or harsh elements. This ensures the film adheres securely and bonds well with the paint surface.
After curing, conduct a thorough inspection of the PPF installation. Look for air bubbles, lifting edges, or any imperfections that might have been missed initially. Address any flaws promptly to maintain the film's effectiveness and aesthetic appeal.
Troubleshooting Tips:
- Reapply heat to smooth out stubborn bubbles
- Use a squeegee to press down lifted edges
- If issues persist, consult tutorials or seek professional help
These steps will help ensure the longevity and flawless appearance of your paint protection film installation.
Maintenance Tips for Long-Lasting PPF Protection
Maintaining your paint protection film is essential for its durability and performance. With Window Kote of Largo in Largo, FL, a trusted LLumar Dealer and premier PPF installer near you, you’ll not only receive expert installation but also professional guidance on how to care for your film properly.
Regular cleaning can prevent grime buildup and maintain the film’s clarity. Use only mild soap and water for washing. Avoid harsh chemicals that might damage the film or reduce its lifespan. A soft sponge is ideal for cleaning, followed by a gentle rinse. For the best results, always check the manufacturer’s instructions for specific care details and trust Window Kote of Largo for ongoing support.
Contact Window Kote of Largo in Largo, FL today for your free estimate and experience the difference professional PPF installation and maintenance guidance can make.
Maintenance Tips:
- Wash gently to prevent scratches
- Inspect the film regularly for damages
- Avoid parking in direct sunlight for extended periods
Proper care ensures that your PPF remains effective for many years, preserving your vehicle’s paint and aesthetic appeal.
Frequently Asked Questions About PPF Installation
When considering PPF, many questions may arise ab its application and benefits. Common concerns include the cost, lifespan, and installation process of the film.
FAQs:
How long does PPF last?
Typically, PPF can last up to 10 years with proper care and maintenance.
Can I install PPF myself?
Yes, but it requires patience and precision. Professional installation ensures the best results.
Does PPF affect my car's appearance?
No, high-quality PPF is clear and enhances the existing paintwork, adding a protective layer while retaining the original look.